Overview #
You can add and edit vehicles in your fleet from the vehicles page.
Note: Adding vehicles is a feature that is not available to all partners. If this feature is not available, vehicles will be added through integrations with your current partner.
Before you start #
- Fill out vehicle details in its entirety. Not doing so could result in a vehicle not being eligible for weigh station bypass.
- Some of your vehicles and specific vehicle data may be populated through integrations with your current partner.
Add a vehicle #
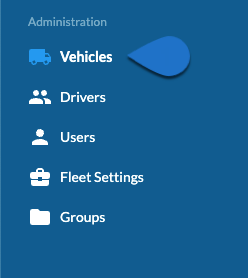
- Navigate to Administration > Vehicles.
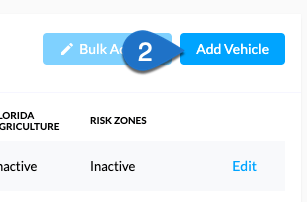
- Click Add Vehicle.

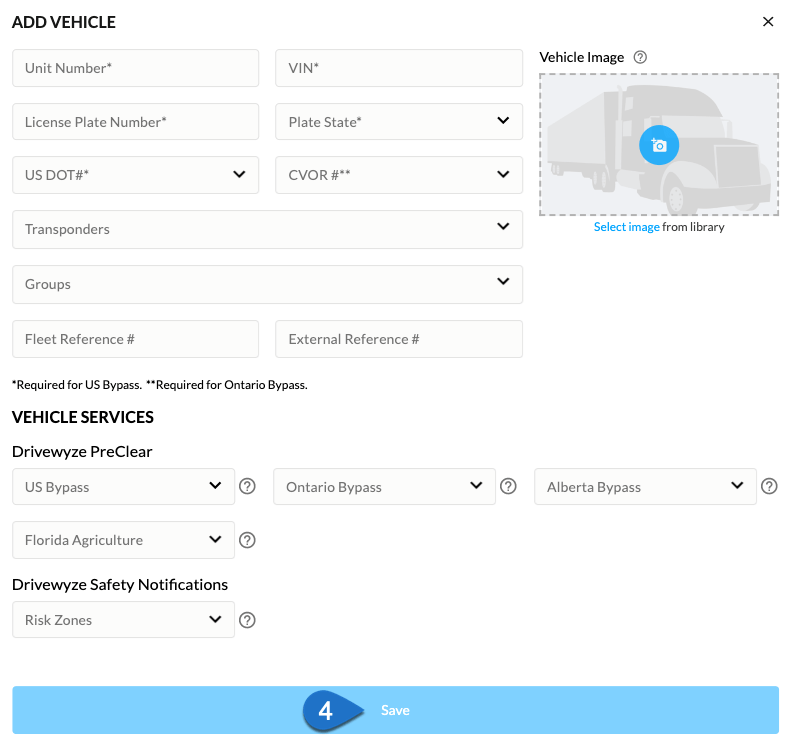
- Enter all the vehicle’s details. Check out this article on truck picture best practices.
- Click Save to finish.

Note: Vehicle services available to you may depend on agreements with your current partner. For more information on which services are currently available on your vehicle contact your Drivewyze representative.
Note: Fleet Reference # and External Reference # are primarily used in partner integrations. If you are not integrating with an external partner, these can be used as searchable references.
Edit a vehicle #
- Navigate to Administration > Vehicles.

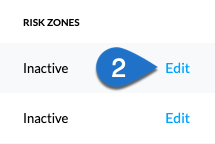
- Click Edit next to the vehicle you want to edit.

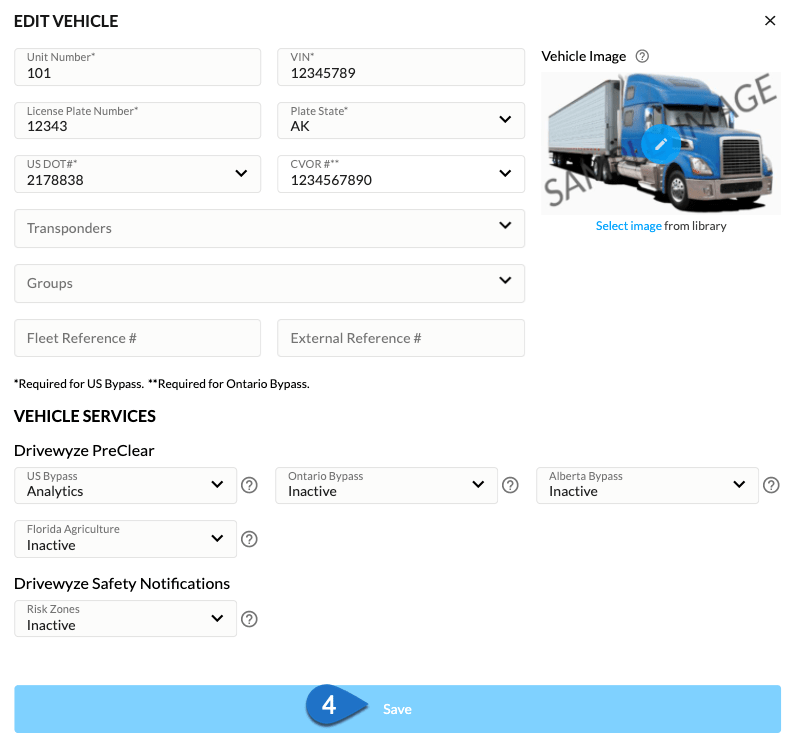
- Make your edits to the vehicle.
- Click Save to finish.

Note: Editing service levels for vehicles may not be permitted directly by your current Drivewyze partner. In these cases you should have instructions on how to add Drivewyze services to your vehicles though your partner integration. For more information on how to modify vehicle services contact your Drivewyze representative.
Note: Fleet Reference # and External Reference # are primarily used in partner integrations. They may not be edited if set to maintain data integrity with a partner integration.
Delete a vehicle #
- Navigate to Administration > Vehicles.

- Click the three vertical dots next to the vehicle you want to edit, then click Delete.

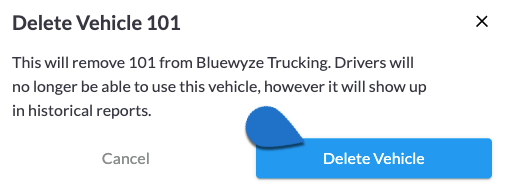
- Click Delete Vehicle to confirm.

